Print on demand, an ongoing saga.

I was just about to write off print-on-demand sites as finished, because one small human creator can’t compete with millions of AI and bot spam, but then I got an email…

I’ve been using the print on demand site, RedBubble, for more than 10 years now. When I first started using it I had no idea about any online shop/selling thing, but I gave it a go and used it much like I used Facebook, uploading my art and interacting with other artists. It was a nice little community that didn’t generate any sales for a long time, but I saw it as more of an opportunity to share my art online than to sell it on products. I used the service every day, got familiar with all of its features and eventually started selling products here and there, which was so exciting, still is 🥳.

I believe the best way to learn how to use social media apps is to have a go and use it for a length of time with low expectations for any kind of follower engagement or sales, use this quiet beginning to get familiar with how it all works while no one is watching, and it will either work out for you, or you’ll work out that it’s not for you.

I let my RedBubble store slide several years ago, it just sat there, generating the occasional sale. Then, early last year I decided to revisit it, I actually listened to a few YouTube tutorials and from that decided to clean up my store. This took a bit of time, I culled most of the old work, optimised the more recent work by making each work fit the new products available, added suitable tags, titles and descriptions for the search engine, and started uploading some current work. It’s been an on and off engagement since then because the site had changed so much, and seemed very…not art…generic and commercial, overrun with not-very creative or unique images, repetitive and text based, with little traditional kind of art.

Then, one day out of the blue I got an email from RB saying they were changing things up a bit with the introduction of tears…I mean tiers. Standard, Premium and Pro kind of tiers… I’m thinking they meant to charge artists for a better service and more exposure, but turns out, to my surprise, that the opposite is true. Yes these tiers cause tears among the Redbubble users I discovered on some of the print-on-demand tutorial platforms on YouTube. The new system has a Premium tier for genuinely creative and original content, best selling with regular engagement kind of users, and a standard tier for…well it seems to be the kind of stuff that is mass produced, not very creative or original, low engagement users and AI generated content, etc… no surprises there…but more shockingly than that it’s not exactly the actual AI art that’s being targeted but the AI bot generators that upload thousands of images a day of repetitive, trending, generic images, with tiny modifications between images, spamming the site and leaving the actual traditional artists, and creators of original designs who manage 1 or 2 uploads a week because they actually make their own art, lost amongst it all. Cleverly, and this bit really is clever, RB is deducting a fee from royalties of the standard accounts, not the premium accounts…and when I learnt that it all made good sense. Genuine creative content makes more in royalties than the bot generated spammy art, and gets more of a push in the search engines while the repetitive stuff loses a cut of it’s royalties in fees.

I watched a YouTube video “is red bubble worth it, my profits for 2024”, and it turns out this creator was using AI to generate images and a bot to upload thousands of images a day to a total of more than 50,000 images across several shops, from all of that he made only $600 on RB in revenue for 2024 and saying that “print on demand is finished because the new tier system…” I can’t even get my head around that many uploads. Cant blame him for trying but like all get rich quick schemes, they are a temporary glitch until everyone catches on and does it and then no one buys it.

Twas good while it lasted I guess 😊

So, with renewed enthusiasm, after seeing that I’m on the Premium tier, yay!, I picked it up a week ago and plan to start using it regularly again because I have a lot of original art in my archive that I can create an engaging store with, and I do love the site, it’s a great service to artists and those who want to buy themselves a tailored art print or something a bit more exotic..

Trying new things

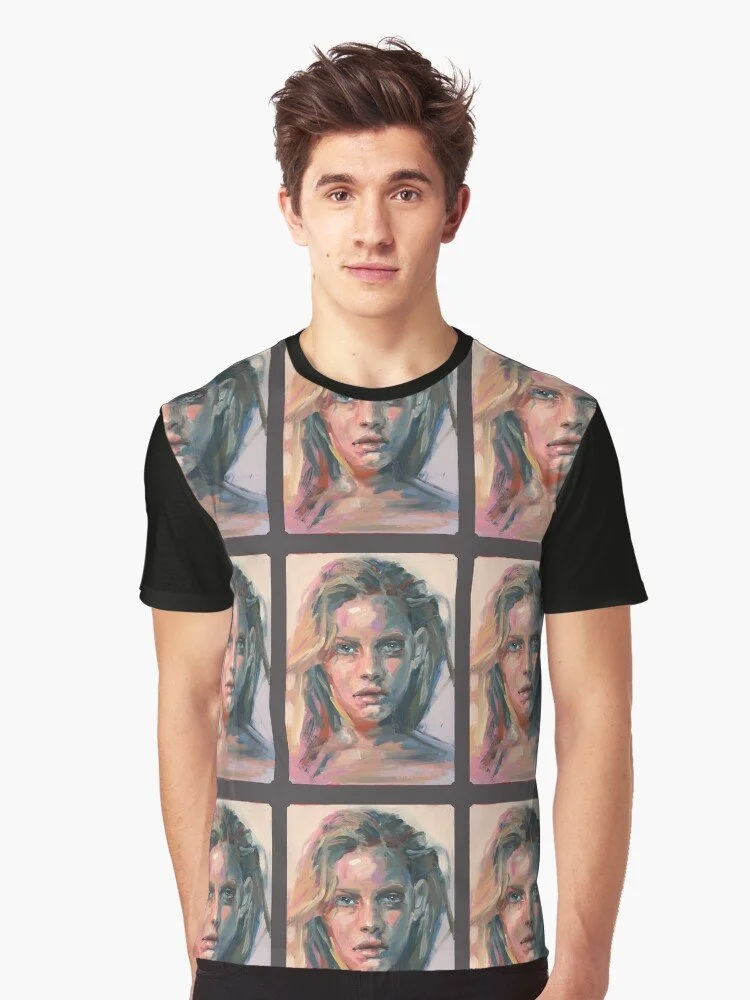
I need a new bath mat so I optimised a few products to accomodate that, and I’ll consider optimising future uploads for it too. Then I’ll get myself one and test it out for quality control.

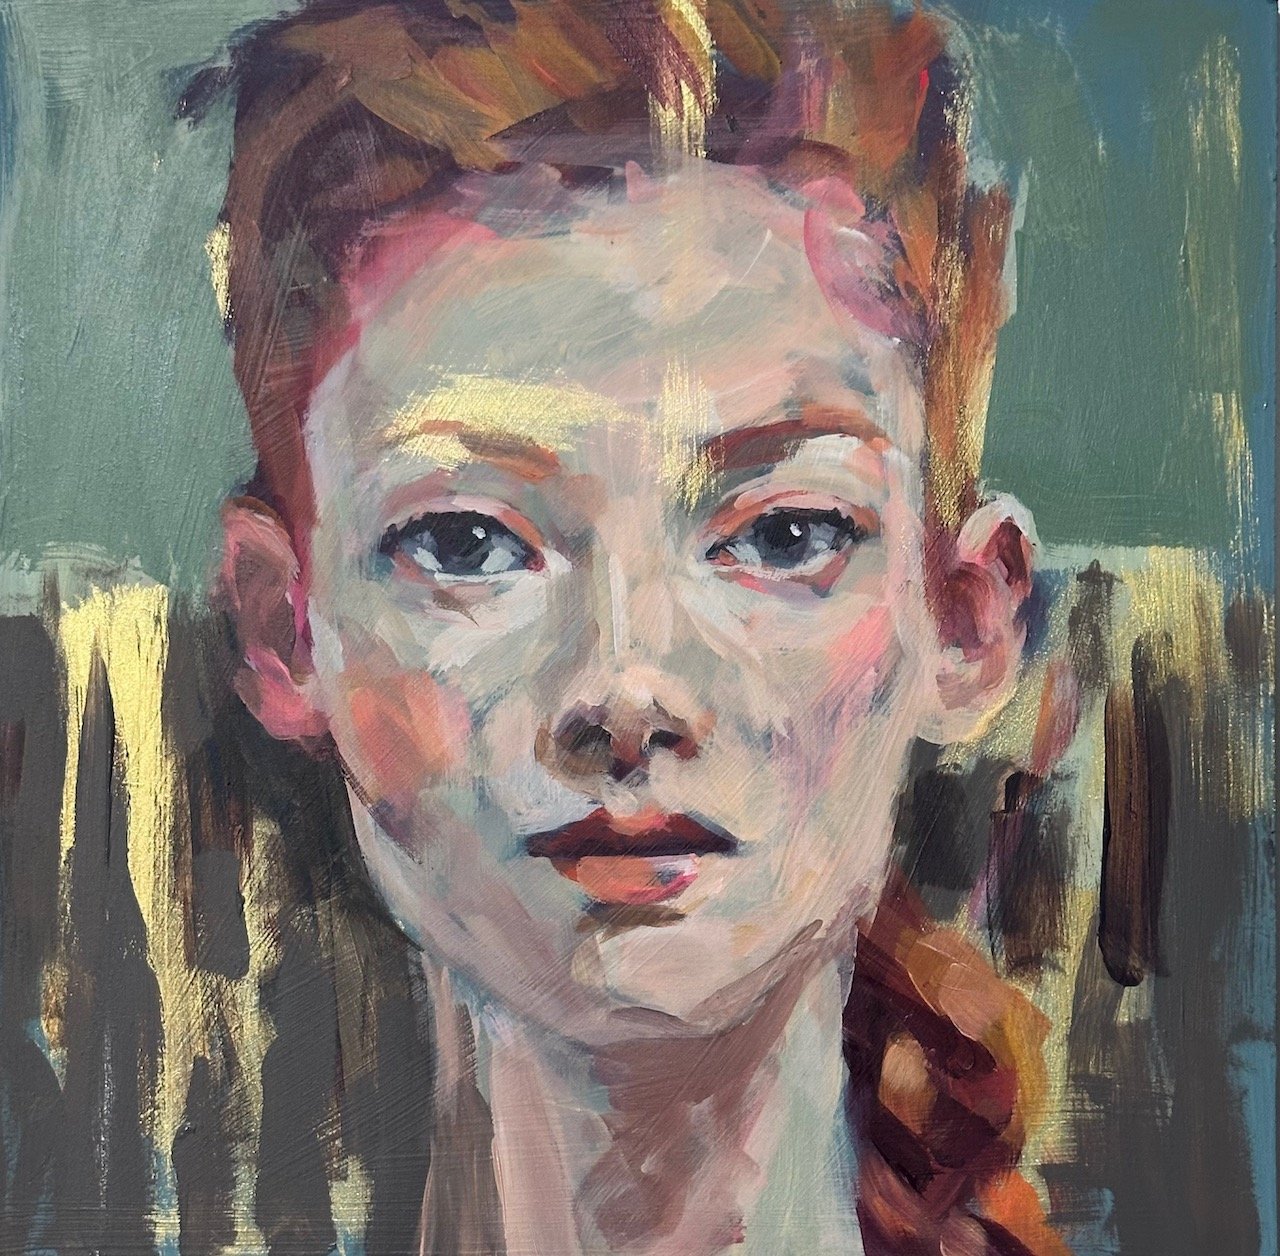
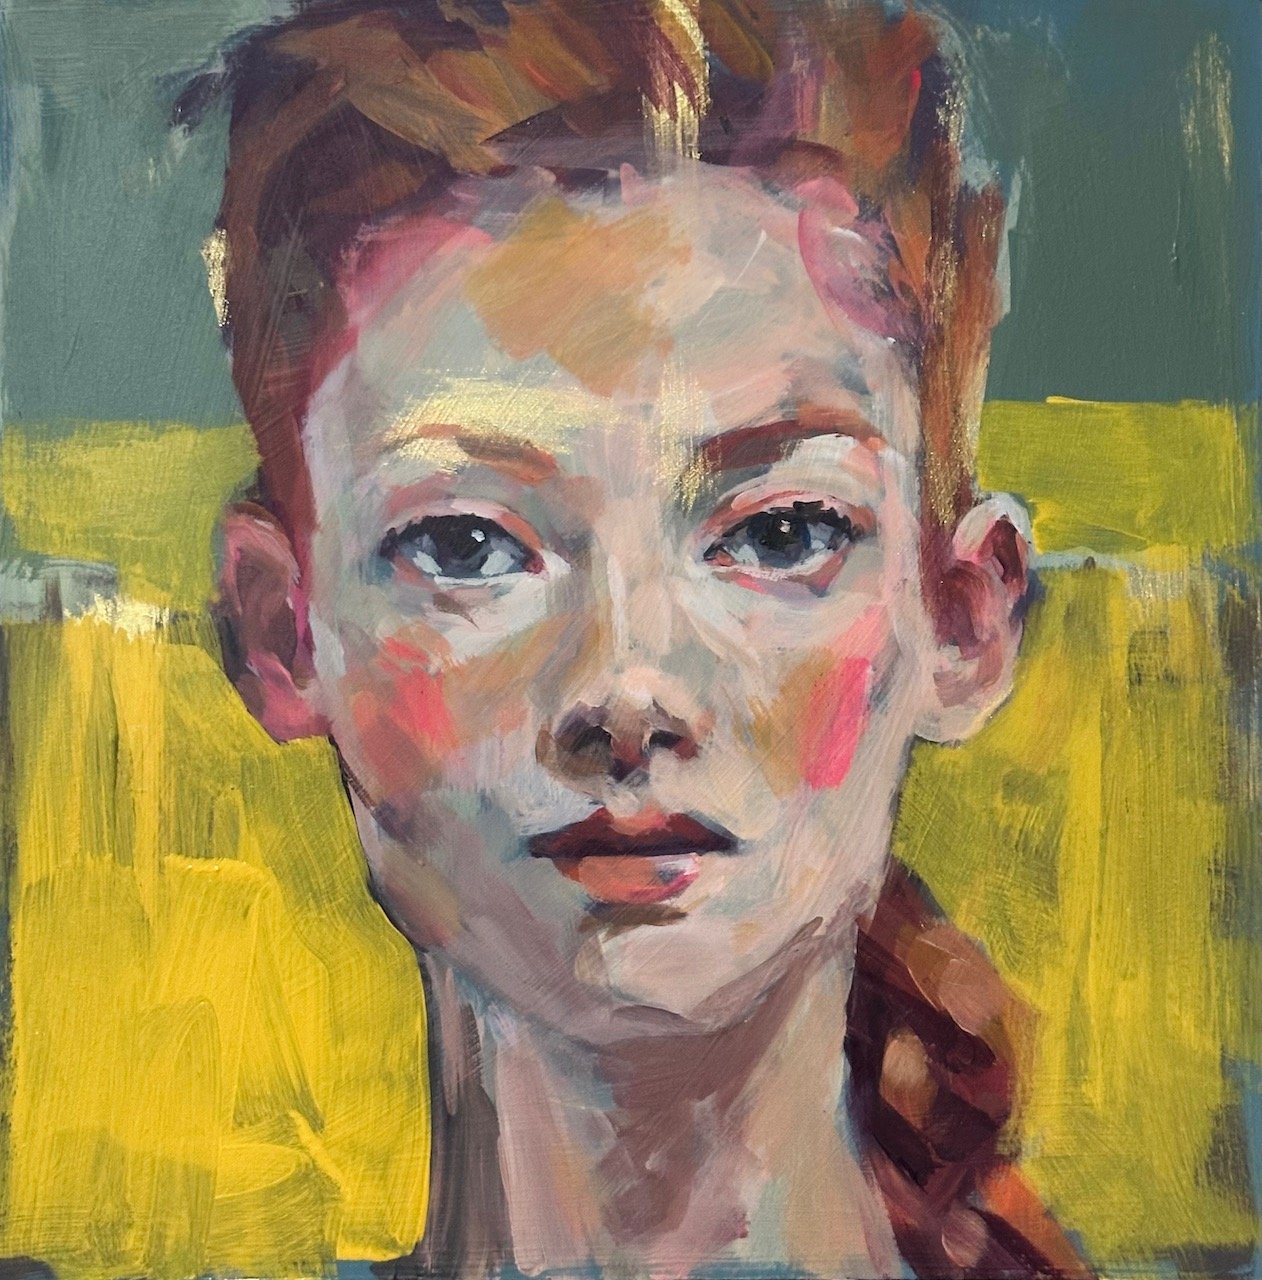
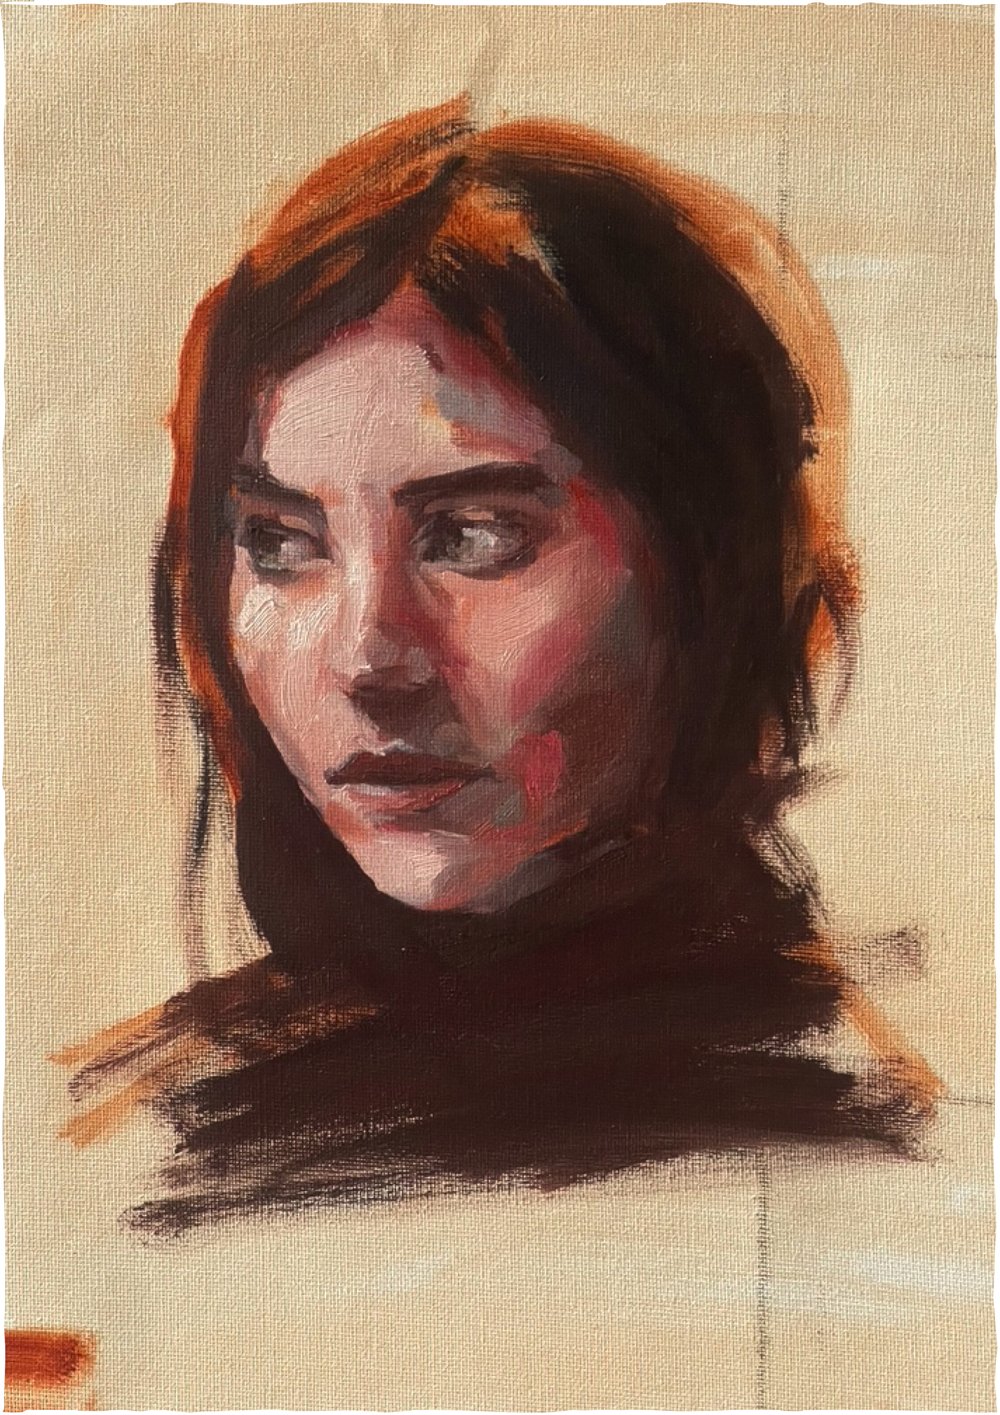
In addition to my Cat Leonard store on Red Bubble - see here I’ve also opened a Leonardo Bogato store on RB - see here and a Cat Leonard 100 heads and other portraits store on Tee Public = see here

I’ve opened the two other stores so I could keep my original store reasonably neat looking and coherent, and I can test ideas in my Leonardo store, and I thought I’d try a niche - 100 heads and other portraits, in the tee public store….will see how that goes.

Anyway, that’s the update of the POD situation from me. I do think it’s worth a look in for any artists who have a collection of works and a decent camera (phone or other), and some kind of PC to give it a try and see what your work looks like on products, and maybe even sell a few :)

Loosening up...

Saturday morning (Feb 8th) was the final session of my 3 week short course - Loosening up with Acrylics, at Splashout art Studios. SEE HERE

The aim of this short course was for participants to get familiar with a painterly approach to using acrylic paints, so it is a suitable course for both beginners and advanced painters who are new to acrylic paints, or want to use them in a less traditional, loose, painterly way.


Lesson 1

For the first lesson I did an in-depth demonstration, talking about the method, my colour choices, using the pallet and applying the paint. I practiced this beforehand (I always do), so that I can clearly articulate the steps of the method and why I choose the colours I do and what’s important and what’s not during the painting process. As each session was 2.5 hrs long, I wanted to keep my demo to under half an hour too, which was another reason to practice what I preach.

My own studies and demo were done in my journals for the first session and participants could also work in their journals or on another suitable surface…and the first sessions results were fabulous!! I was happy.

Lesson 2

This session looked at coloured grounds, including another demo from me and a fixed study exercise as a warm up.

I can not lie I had so much fun studying for this lesson, and by the time I got to the actual lesson my demo just fell out onto the canvas, didn’t even have to think about it, such is the way of repetition, the best way to learn something.

My demos and studies for the second lesson below:

The fabulous work from the participants:

Lesson 3

The final lesson addressed the finishing touches on paintings to complete them, brush work and adding colours to the pallet as you need them. Participants could continue working on the paintings they had already started, begin a new one of their choice or paint another version of one they already painted. For my own study I painted the same pear yet again, this time with the least possible paint brush strokes…

Participants dived into their work and did great works of art. I was very pleased with the results and with how quickly the work came together.

to register your interest for the next Loosening Up with Acrylics at Splashout Art Studios - SEE HERE

Plein air Parklands

Getting up at the crack of dawn to plein air paint in the Adelaide parklands with fellow artist Kathy Doley was, we both agreed, a success (and alot of fun.). We each bought with us four supports and intended to paint on them all…two study boards and two top quality surfaces…and it didn’t matter what order we painted them, just that we painted on them all. The purpose of this excursion was to have, at the end of it, something to submit into the Adelaide Parklands art prize. With the theme being “inspire” we thought to be inspired by the early light of the balmy morning sun dappling it’s light through the trees…

As we stepped out of the car and took in the enchanting scene we were greeted by a local bin chicken… I mean you can’t get more bin chicken’y than an actual bin chicken on an actual bin…

As we settled into some serious painting, a channel 7 news reporter thought we’d make a good addition to the story he was putting together about the new pandas in the zoo. “may I…” he asked. “Absolutely sure you can…” we enthusiastically responded…

There was a 10 second glimpse of us on the 4pm news that afternoon, I’m told…

We both painted two paintings here in Botanic park- I used one study board and one of my best canvases and later that day completed the canvas at home.

25x25cm parklands on stretched canvas.

After a couple of hours we decided to move to a different spot, (stopped for tea in the botanic gardens coffee shop), and then hiked it to park 20 on the GreenHill rd side of the city. By now it was mid morning and heating up… we got pretty hot and found a shady spot among the tree climbers…

Here I did my best work.

…and it was a toss up between these two paintings that I would enter into the Parklands, the following one is on a beautiful clay-board surface…delightfully smooth to paint on and I’m glad I saved it until last.

the end.

Commissions, commissions, commissions.

I started this blog October 3rd 2024, and it’s been in draft since then. Since I started writing this blog I’ve completed many of the paintings that were unfinished then, and some are still unfinished and I’ve picked them up again…so going back to October this is where I was at:


October 3rd, 2024 - I have so many commissions lined up that I closed my commissions. Feeling overwhelmed because I haven’t got a system to tackle so many of them at once. It seems to be the niche that could provide me a steady income but I need to work out an efficient system for painting them and that’s what I want to explore in this blog.

I have been painting one commission at a time and a whole lot of other stuff at the same time because one can’t just work on one painting… - that works well for the other stuff - like I painted my whole Park Dogs exhibition in between 2 commissions. 30 paintings to 2 commissions and the commissions keep piling up…

So now I want to clear some of that line up - I’m thinking I should paint a stack of commissions at once…like I did with my Park Dogs, start a whole lot and then I can see, visually, my progress and where I’m at rather than tackle one at a time which causes me to lose a lot of productive time to procrastinating… so what’s the best way to do that I wonder…?

Looking at what I’m working on at the moment - two commissions, a large portrait planned for the gallery M community exhibition, my collage project for the third project of term 3 at Splashout art studios, and a pear for fun and a park dog painting that I never got around to finishing.

I’ve also stretched and prepped another large canvas for a commission due by December, which I might draw up today, and I’m wondering if I should start another portrait commission to really move things along…

oh…and I nearly forgot the two extra large abstracts I’m commissioned to do but the due date has been postponed several times so I’ve put them aside…

2x XL floral abstract commissions, one of them yet to start,  blank canvas still in box, the other one nearly done.

I worked a bit more on one of my commissions and now, because it’s the late afternoon, I’m going to start another. Here’s one dilemma - in the mornings I find it easier to do the difficult work of likeness in portraits, and finishing off works… where as in the afternoons I’m more inclined to want to be free to express and experiment which also suits starting works.

I’ve missed writing these blogs…

and there’s another hindrance… commissions are kind of in the private/personal space…between myself and the customer, so it’s difficult, possibly improper, to share aspects of the work on social media, especially progress, even though this side of things remains undiscussed.

procrastinating again…

I’m just sitting here, unable to decide what to work on…at some point one just have to make a decision so….uugghhh… I’ll finish off the two dogs!

I didn't have a lot to do on this painting, but now that it's done I can hang it up and it's moved from my to do pile, which feels like I'm making progress  - Park Dogs no 31, Bella and Lila. 

I’ve got a week to sort something out for the Marion community exhibition at gallery M, so that’s my next project that I’ll get to - a largish work, 90x90cm.

I won a a couple of prizes for my large Agnes portrait.

Agnes and I

Agnes, the name of this painting, won the most outstanding work in any medium and the people’s choice in the city of Marion community exhibition at gallery M. I was very happy and honoured about that.

back to the present:

15/1/’25 Crikey time flies… …and I’m thinking I should make a plan…like plan a daily routine or something, so I’m thinking that if I spend an hour or two first thing every morning working on my commissions I’m freed to do whatever else I’m inspired to do in the afternoons…I’m also going to use my wet pallet for commissions and work on one commission at a time in the mornings so I’m forced to complete the one I’m working on. The wet pallet will save me having to put out paint each time I get to work, so I can pick up where I left off every morning. That’s my plan…1 hr or more, every morning on a commission until it’s finished, and everything else in the afternoons…see how long it lasts.

the end.

Abstract painting.

Part 1

Every year I give something up for my new years resolution, but as 2025 is looming and resolutions are on the horizon, I’ll give something up AND take something up. I’m going to take up abstract painting for 2025.

There’s something wonderfully enjoyable about it, about the process. It’s indulgent - like when you put some paint on a surface simply for the sake of putting that paint on the surface, and then covering it up with another and another…multiple painted layers. It requires one to be wasteful…wasting paint in order to discover some rich quality in the building up of layers that will never be seen… these unseen layers can be felt through the surface though… like the footsteps you heard yourself make yesterday but no longer can be heard today.

Free from form, free from expectation, free from objectification…Abstract painting is freeing. Here you are free to explore the materials without the constraints of drawing something accurately. It’s playful. It awakens the inner child and the wise intellect at the same time. The child plays with the tools and materials, seeing what they do, what one can do with them without direction. The wise intellect makes many decisions where there’s no rules to obey, no boundaries to consider. The intellect makes up the rules and then sticks to them, bends them or breaks them to achieve a good outcome. (“good” is what a ‘wise’ person achieves where possible, methinks.)

In abstract painting I have the opportunity to explore colour, mediums, paint, texture, layering, composition, mixed media materials, recycled supports, taste, style, design, repetition, brushes, mark making, tools and time.

Freed from form, freed from expectations of accurately drawing something representational, all critique becomes subjective.

I don’t know why I like it. Not really. Often I don’t even know what it’s even meant to be.

Everyone sees something different in an abstract painting.

“Murmurations” said Krysh when she looked at this above painting. It reminded her of a flock of starlings as they fly around…changing direction as they do….incredibly not flying into each other and getting tangled up. Echos of movement.

Above is Murmurations 1 and 2, and below is Split System 2. These paintings with the repeated paint strokes were therapeutic to paint…calming. I wonder if a similar feeling of therapeutic calmness affects the viewer when looking at them?

I like these repetitive paint lines and these half circles…”circley squares” we called them in class during the recent abstract project at Splashout art studios.

We have a lot of fun in class.

portrait of a man, 45×45cm

Oil portrait

I haven’t painted with oils for a while - well not at my own pleasure anyway, so that’s what i’m going to do with this portrait.

I selected a board with some acrylic underpainting on it (I keep a stack of these ready to go with random bits of colour on them which i’ve offloaded from my pallet at the end of painting sessions, and or painted with gesso.

The board I selected is painted with a dark indigo, then with some green grey gesso marks on top of that. I want to use a limited pallet so I’ll choose some colours with this underpainted board in mind.

Viridian, raw umber, burnt sienna, permanent rose, yellow ochre, titanium white.

The pallet

mixed some colours and now I’m ready to start

Before I make a start I mix a full pallet of colours. This is the main advantage oils has over acrylics so may as well take full advantage of this feature. I never do this with acrylic paints, never ever EVER!!

I kind of forget what I’m doing for a sec…I’m so use to acrylics.

Ive painted a monster!

Oh yeah, that’s right…I want some paint down so I can paint wet on wet - I break a few rules and don’t use any medium to thin the paint, so it’s straight paint on straight paint, nice and creamy.

yep, loving the process… it’s about now I need to chop in from the background and push the subject forward, so I decide to mix a grey using what’s on my pallet with a little Paynes grey to add some blue to the mix. I figure that subtle difference will barely be noticed, but will be different enough to do what I want. So…

I’m happy with that.

The end.

Portraits - 6 week short course

Just finished facilitating a 6 week short course at Splashout Art Studios. It’s been a fun and interesting journey with a great group of 10 lovely participants. I’m so grateful for their enthusiasm and courage to try the things presented in this course, and their encouragement and curiosity towards my own methods of painting.

We’ve covered alot of ground with great results, and as always I learnt alot myself as we wrestle through what it is I’m attempting to teach. So many great questions came up during the course, some questions that had me thinking for days…and that’s the beautiful thing about teaching, you learn even more about what you already know…or at least think you already know.

lesson 1

The first lesson we looked at the structure of the head facing forward.

To make this an interesting lesson I needed to put together a task that participants could do to explore drawing front facing heads with paint.

lesson prep

playing around in my journal in the days before the first lesson helps me figure out what will work as a task to complete within the 2.5 hours lesson time.

All participants did a great job for the first lesson, I thought.

lesson 2

For the second lesson we looked at turned heads. This is alot more complicated because there’s so many variations and possibilities for a head that’s turned and/or tilted. We practiced drawing the template on paper together, from different angles using both a reference photo and from imagination.

For this lesson’s task we explored drawing the tilted head with two colours plus white oil paint using solvent as a thinner.

Burnt sienna and viridian plus white is a fabulous limited pallet to explore faces with.

For this task we all painted the same image to start with.

lesson 3

for this lesson we looked at the profile and skin.

we really covered alot of ground in this lesson so I forgot to take photos of all the work, like I should’ve taken photos of the pallets and the colour mixing which took up at least half of the lesson.

for my own preparation I painted one of the images we were looking at during my presentation.

I thought I’d be clever and paint on lovely Japanese paper but I ran into an unexpected difficulty when the ultra porous paper didn’t do what I intended it to do. ha! another problem to solve.

lesson 4

we looked at features and revisited skin and tried the skin pallet on a coloured ground. Again…should’ve taken more photos but was too engrossed in the process.

lesson 5 & 6

For the last two lessons, participants painted a portrait of their choosing on a stretched canvas. For this final painting they can put into practice the things they’ve learnt in the previous lessons, and some participants even had time to revisit one of their earlier studies and add another layer…

check out the work below, aren’t they fabulous!!

bibliography:

thanks to Tracy for the video footage and the photos of me.

Thanks to Splashout Studios, Krysh and Gaynor for all the hard work being the scenes.

Burgundy...

is a colour I’ve grown to love. It’s not an exotic colour - it’s more like a school uniform colour, or a airport lounge kind of colour. It’s corporate, it’s inoffensive, it’s easy to mix.

as I’ve been exploring with burgundy, I’ve been weirding the pallet into some of the strangest combinations.

Burgundy and Orange

I used both permanent orange and fluro orange to up the bright factor

So after using Burgundy in a number of paintings over the past few weeks (or months even…loosing track here…)…

…I set myself another challenge - to close my eyes and choose a colour at random from my paint box to work with my next burgundy painting.

Mars Grey. …I was a little disappointed at first…not sure why because this was a recent purchase and I haven’t used it as yet. Anyway, as fate would have it I closed my eyes again and selected another colour - Crimson. What? too much like orange… I put it back and decided to go with my first pick.

…using mars grey and burgundy I map out a head on a board that happened to be primed with Midnight Blue.

It doesn’t take long for me to want to add another colour so I add yellow ochre and the background colour, midnight blue, to my pallet and I see how far I can get with these colours.

I don’t want to do more than I have to at any stage of the painting process because I love the effect of the economical paint marks at the early stages of painting - to keep these it’s important not to over work the painting and to do that realise that I need a warmer light…some kind of white or very light pink/yellow so I can get some light tones that are different from the grey. Decisions…decisions…

I add the crimson (my second blind choice) and vintage white to my pallet. The light’s I’m already using look really light against the black background but when I add the white you can really see how dark the other lights are.

it’s about now I consider changing the background colour, or doing something with it…more decisions….decisions…

really when you think about it, painting is alot of decision making.

I test burgundy first…used up what was left on my pallet and then I try olive green light…a new colour I bought the other day so I thought I’d give it a go. I like it

…so now it’s a matter of refining the face and touching up the background again and I second I’ll be done.

Finally, I photograph the finished work in filtered daylight on both my iPhone and my Nikon using a macro lens. The images appear so different, and as usual, I can’t decide which one is better so I’ll pop them both here and let you decide.

The end.

choosing colours...

..is something I want to explore more thoroughly during 2024.

I’ve been playing around with weird colour combinations in my paintings - These weird colour pallets I happen across by chance through the painting process. I’ll choose a colour to draw out my design, then choose a lighter or darker tone to add some detail - be that depth or highlights, as part of the initial drawing stage of a painting. This additional second colour is chosen for it’s tone not it’s colour and it’s after I’ve painted with it that I observe what the colours actually feel like together - both how they sit next to each other and the colours they make when mixed together.

it’s not always pretty…

First I painted the green and pink grounds without knowing what I was going to do with it. When I was ready to do my studies I grabbed a dark tone (burgundy) and a light tone (light pink) to draw with, then chose the light green to isolate the subject. The pallet resolved itself during the process and now I have a weird colour pallet that I can use again without a thought, and add more colours to in a larger work.


Colours can change the feeling of a painting - sometimes just layering colours on top of colours helps me find a solution. I choose a colour for it’s tone and warmth or coolness rather than it’s colour, to see if it works but I don’t really care if it doesn’t work well because the layers add so much depth and interest that it’s worth the experiment if I do choose to paint a different colour over the top.

Below is a head I’m working on - on the left it’s feeling drab and messy so I know I need to make a drastic change to the background. I grab a tub of straw yellow gesso and block out the drab.

Why straw yellow? I guess it sort of jumped out at me when I looked through my pile of paint. I’ve used it before in a background so I know it’s a workable background kind of yellow… …so having put some down I don’t mind the yellow even though it needs refining, So now I’ll continue with the face.

Working on the face I’m using the pallet I started with, not adding any of the straw yellow, I will keep that seperate. This creates a “pop” factor rather than a harmony thing. Sometimes I like harmony and will limit the pallet to get that and mix all the colours together to make all the tones, both in the background and in the subject.

finishing… this little portrait was a matter of refining what I’ve already got and adding more layers of the same to add depth and to neaten it up so that the general visual effect isn’t messy and chaotic, but there’s still messy marks to be seen as you look more closely at the work. A sweet spot between chaos and order kind-of-thing.

Another thing Ii want to look at again is the difference between photographing my work with my phone camera and my Nikon DSLR. I’ve noticed the Nikon makes a much softer photo while still showing the detail, where my phone exaggerates everything. The Nikon shows the painting more accurately to how my eyes see it in real life at a normal viewing distance, and the phone shows it as if I was looking at it really close, like a nose distance away, with strong light so is better for viewing on a phone and in thumbnail situations, where the Nikon is better for viewing on a large screen and making printed copies I guess.

check it out - Nikon 59mm macro lens on the left, phone camera macro setting on the right.

The end.